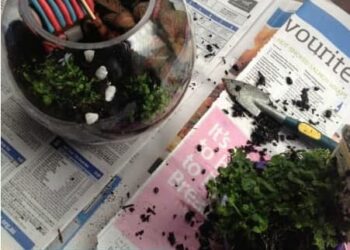
Since a long time, I’ve admired terrariums (These from Frog Goose and Bear or pollyposs look particularly lovely), yet I was too scared to make one. See, I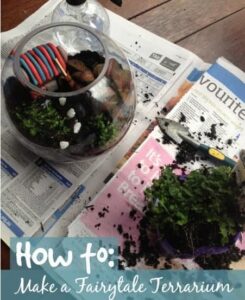 have no green thumb.
They would make great gifts for my mother and mother-in law who love gardening.
Cammy and I decided to take on this project. We are not only a bit obsessed with it (wait until you find out how many we have made!) but we also love making them. We love our creations so much that we can’t bear to give them away.
Fairytale Terrariums
Our terrariums are fairytale-inspired. Cammy is a big fan of fairytales, so she got really involved and engaged in the project. It was also a good way to consolidate Cammy’s understanding and comprehension about fairytales and the settings.
These terrariums are not only beautiful (I smile each time I look at them), they also make for beautiful, natural play scenes. Cammy loved creating the scenes. We made several terrariums as gifts, but you can make one and keep changing the scenes.
Materials needed to create a fairytale Terrarium:
Most of these items are available at discount stores, which makes terrariums affordable. Plants are the most expensive item.
- Vase or jar made of glass
- The stones/crushed rocks/pebbles can be just from the path. They don’t have to be fancy .
- Activated Charcoal ( Available at a pet or nursery store).
- The type of plant you are using will determine the potting mix that is needed.
- Use plants that are tolerant of similar conditions. We bought plants that were specifically designed for terrariums to be on the safe side.
- Figures ( Most of our items were purchased at a discount shop and a few others from TomThumb’s Miniature Emporium).
- Polymer Clay ( only for making your own figurines).
- Water spray bottle
How To Make A Fairytale Terrarium
1. Discuss the setting, storyline and symbols of a particular fairytale
2. Choose figurines to help you create the scene of this fairytale. ( Your toybox may contain some).
3. If you’ve chosen to create your own figurines, follow the instructions that come with your clay package .
4. You can purchase items for your terrarium at the nursery ( activated charcoal, potting mix , pebbles ).
5. Before you begin, clean your glass jar.
6. Create the following layers using your glass jar. (SproutHome has great instructions that explain the layers).
- Stones/crushed rocks
- Charcoal activated
- Potting mix
7. Plant your plants. ( Cover the roots of your plants with soil.
8. Decorate with figurines
9. Use a water spray to lightly spray ( we added a tag with instructions for care on the back).
10. Spray your terrarium regularly (but don’t overwater)
Gift for Nanna No. 1: Little Red Riding Hood Terrarium
Axes and wood
Gift for Nanna 2: Hansel & Gretel Terrarium
*Witch house *Witch broom*Pebbles
Snow White Terrarium
*Seven dwarfs *Pick *Diamond*Forest Friends (deer rabbits bird)
Rapunzel’s Terrarium: A terrarium to be placed at Cammy’s writing desk
*Tower *Blonde plait * Forest friends (owl/bird)
Tips & Tricks
I was surprised at how simple and successful these terrariums are to build. Each time we created a new one, we improved on our decisions and processes. Here are some of our tips.
- The jars that we purchased were too small to fit the scenes.
- Purchase a glass jar with a wide opening to accommodate little hands. (Our jars had a narrow opening, which made it difficult for us not to disturb the plants when we placed our figurines.
- Before planting, set up the scene so that you don’t handle the plants too much ( Our minds kept changing).
- Choose plants that thrive in similar conditions. (We planted a fern that died very quickly when other plants were happy).
- Make sure that you cover the roots with soil.


